Tectonics of Order

25FA06D5-1E6E-4330-AC11-C190B422F47C.JPG

I'm reading the book Get your House Right by Marianne Cusato & Ben Pentreath with Richard Sammons @ Leon Krier.  The authors propose the idea that Americans place a high value on traditional styles of Architecture, while Architecture schools have mostly forgotten or ignored classical Architectural orders.  If this is the case, which I don't disagree, it's important to understand the basic elements of the classical orders. Their placement, proportion and their function as they were intended become the visual building blocks for the American home.  Like the human body, the anatomy of the classical order gives us clues as to what the functions of the building are.  Let us focus on the two most important functions of a building; firstly, a building should not fall down on you, it should do no harm.  Secondly a building should protect you from the weather.  This probably sounds a little too basic but at the core of shelter function, this is it, this is all that matters. 

The classical orders offer us the visual cues to help us understand that a building will provide these two primal protections.  History has shown us that the classical order is well thought out and that it's rigorous rules are time proven and well respected.  For thousands of years the aesthetic choices of these early designers has proven to be pleasing to the eye.  It's with this bit of information, that we as Architects should respect or at minimum understand the the guidelines that have been laid out for us. 

IMG_2240.JPG

Material impact at every stage

dominik-vanyi-F1B0-iuAxO4-unsplash.jpg

While a material may be healthy in it's final state it may be harvested through processes that are dangerous and or unhealthy for the workers, and nearby residents. For instance, people who live near mines, farms, manufacturing plants or refineries may suffer due to their proximity to such locations. Water pollution, air born toxins can cause cancer, breathing detriments, birth defects etc. A material must be evaluated for extraction process, manufacturing, installation, useful life, disposal and the associated transportation at any stage of it's life cycle. For instance, gold, a material that is clean, non-corroding, and recyclable. Mining enough gold for one wedding band creates roughly 20 tons of mine waste including cyanide and or mercury. Also we must look at the energy put into smelting process.

Gap and Overlap

GAP AND OVERLAP.jpg

Architectural Detailing - Edward Allen, Patrick Rand

Architectural Detailing

Creating details that call for the precise fitment of materials leads to much higher construction costs, slower work and ultimately, unrealized design aspirations.  Every material has it's own tolerance margin.  These Margins differ based on the size and nature of the materials.  These tolerance margins need to be accounted for in the detailing of how the materials come together.  The easiest and most cost effective approach to avoid custom fitting materials to perfectly match the adjacent materials is to leave a gap between them.  This gap width can vary as necessary, as long as we overlap it with another trim element.  The most basic example of this would be a piece of shoe moulding covering the gap between the base trim on a wall and the hardwood on the floor.

Tolerance

tolu-olubode-PlBsJ5MybGc-unsplash.jpg

Architectural Detailing - Edward Allen, Patrick Rand

Architectural Detailing

Tolerance is the margin of variation from plumb and level that is generally acceptable in construction. Tolerances vary based on the nature of the material, the size of the module and methods for erecting. For instance, the tolerance for concrete masonry units (CMU) is quite small, about an 1/4" per floor but not to exceed 1/2" overall even for 20+ stories. Steel has a tolerance closer to 1/4" per floor but can vary by 1 or 2 inches at 20+ stories. This is due in part to the nature of the construction methods. CMU is placed in vertical 8" increments block by block and can be corrected for plumb every 8". On the other hand, Steel columns are placed every one to two stories, making correction for plumb much more seldom.

Mockup

ansh-bhagania-WhM5NJ11sFk-unsplash.jpg

Architectural Detailing - Edward Allen, Patrick Rand

Architectural Detailing

Building a simulated portion of a wall assembly allows for the observable conveyance of information between Owner, Architect and Contractor. New or difficult details can be demonstrated in a low cost and explicit manner. Mockups are very useful for exploring tectonic connections, ease of assembly including accessible connections, color sampling, proportion, texture and scale. All three parties can come to agreement on a standard for aesthetics, detailing and quality of work.

If mockups are built before the construction begins, changes can be made at a lower cost. Mockups can also be used and are often required for site plan approval process.

Repetitive Assembly

REPETITIVE ASSEMBLY.jpg

Architectural Detailing - Edward Allen, Patrick Rand

Architectural Detailing

In residential construction, a house for instance is made nearly entirely of components that are within the size and weight of single worker's ability to pick up and carry on his or her own. There are exceptions to this rule as we see prefabrication playing a larger role in construction. The components of a house are small and must be designed to work within a larger assembly to create larger building elements. Floors, walls and roofs are made up of smaller components that work as a whole. These smaller components should be designed in a manner that allows for repetitive spacing and detailing that matches the uncut sizes of the building material module.

A good example of this would be designing a wall that is a multiple of 4'. A 32' wall will need 8 sheets of plywood @ 4'X8'. Within this system studs would be spaced 16" on center. Another example of this is designing masonry wall lengths that fall on an 8" increment which matches nominal masonry sizes. An easy way to remember this is odd feet should end in 4" (3'-4") and even feet should end in 0" or 8" (6'-0" or 6'-8").

Drain and Weep

DRAIN AND WEEP.jpg

Architectural Detailing - Edward Allen, Patrick Rand

Architectural Detailing

Often a wall cladding material and its joints are not waterproof. When this is the case it becomes necessary to collect and drain water out of the wall assembly. Cavity walls, or walls with an air space within them are designed to collect water that makes it beyond the exterior cladding. The cavity is a capillary break that forces remaining water to drop to the bottom of the cavity where it can be drained out of the building by waterproof flashing. This detail is common in brick walls.

Overhang and Drip

OVERHANG AND DRIP.jpg

Architectural Detailing - Edward Allen, Patrick Rand

Architectural Detailing

Preventing the presence of water on a vertical surface can be effectively managed by overhanging the sloped surface above the vertical surface, allowing water the chance to drip to the ground. The most common and visually apparent example of this is a roof overhang. The width of the overhang beyond the wall surface is determined by the height of the wall we are trying to keep dry and any wind forces that might push the water onto the vertical surface. The taller the wall, the longer the overhang should be.

Overlap

OVERLAP.jpg

Architectural Detailing - Edward Allen, Patrick Rand

Architectural Detailing

We defined in leakage that three conditions are necessary for water leakage to occur. Water must be present, there must be a hole in the assembly and there must be a force to push the water through. One force that is always present is gravity, fortunately it can be used to our advantage. Sloping and vertical surfaces can be clad material pieces where the upper surface extends over the lower surface. This organization of materials is called an overlap and is a very effective means of keeping water out, gravity wants to pull water downward. The lower the slope of a surface the greater the materials must overlap.

Leakage

LEAKAGE.jpg

Architectural Detailing - Edward Allen, Patrick Rand

Architectural Detailing

Controlling water leakage is of primary importance in building design.  According to Architectural Detailing, three conditions must be present in any building situation in order for a building to have water leakage. 1) Water must be present. 2) A hole in the building assembly must be present. 3) A force to push water through the hole must be present. Eliminating any one of the mentioned conditions will eliminate the leakage.

Tile Shower - The details

bathroom-1336165_1920.jpg

The tiled shower. It is hard to beat the sophistication, of a site built, tiled shower.

The 2015 Michigan Residential Code has a fairly long list of requirements for site built showers. They call them Shower Receptors and can be found in P2709.1 MRC.

“Where a shower receptor has a finished curb threshold, it shall be not less than 1” below the sides and back of the receptor. The curb shall be not less than 2” and not more than 9” deep when measured from the top of the curb to the top of the drain. The finished floor shall slope uniformly toward the drain not less than 1/4” vertical in 12” horizontal nor more than 1/2” per 12” horizontal and floor drains shall be flanged to provide a water-tight joint in the floor.”

modern-minimalist-bathroom-3150293_1920.jpg
SITE BUILT SHOWER PAN.jpg

Metal fabrication for Blue Llama

It’s awesome getting projects like this. Nothing to me is more fun than designing and delivering on something completely unique. We had a lot of back and forth on what kind of pattern to use. In the end I decided on the geometric pattern from Qarawiyyin Mosque.

IMG_2546.JPG

What I’m learning is scale, contrast, and distance viewed from all play an important role in making a pattern successful. We had to make a few test pieces to make sure we had the pattern right. Originally our scale was too big and clumsy looking.

IMG_2547.JPG

We made some drawings, to help us get the scale just right.

IMG_2545.JPG

Another laser cut sample and we knew we were in good shape

IMG_2548.JPG

Fastening the metal to acoustic panel provided another interesting challenge.

BLUE LLAMA BLOCKING DETAILS 12.15.jpg

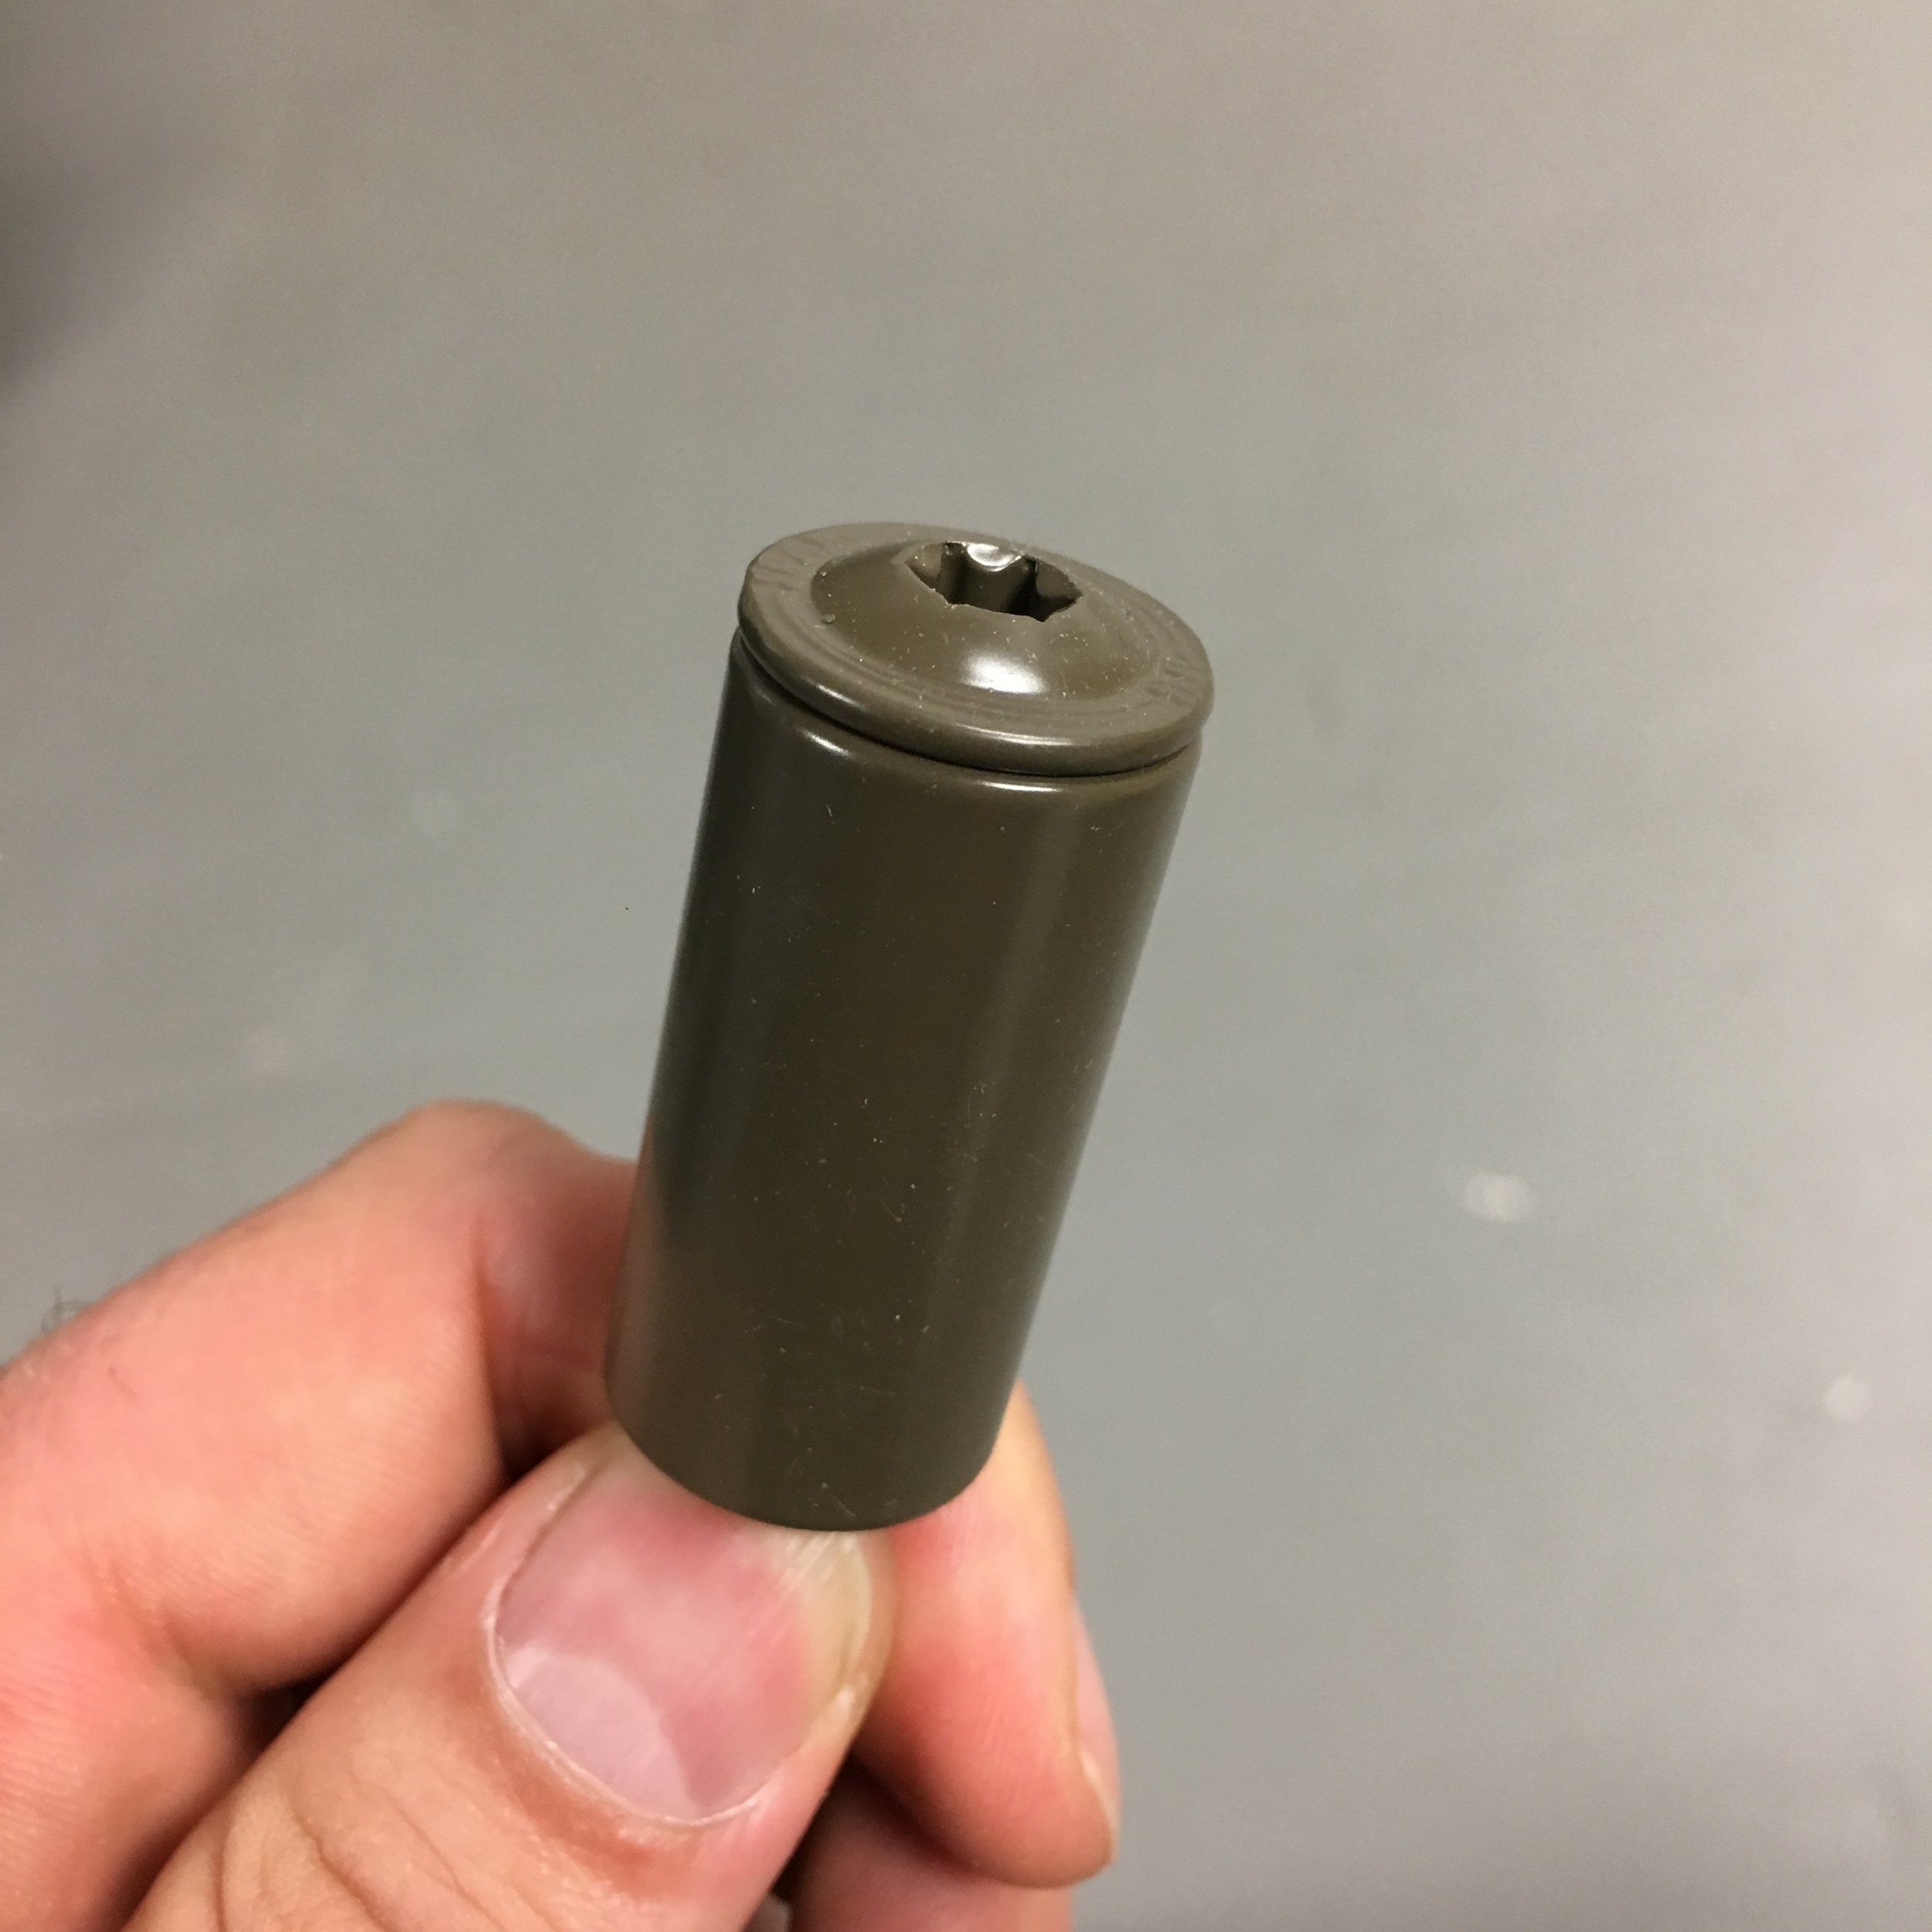
We used Lag screws with aluminum standoffs, powder coated to match for the fastening.

IMG_2549.JPG

The results speak for themselves. I’ve gotten a lot of compliments on the project.

IMG_1998-1.JPG

The vector file (.dwg and pdf) are available for purchase